


在 Raspberry Pi 4 和 5 上进行实时推理(40 fps!)#
创建于:2022 年 02 月 08 日 | 最后更新:2025 年 09 月 30 日 | 最后验证:2024 年 11 月 05 日
作者:Tristan Rice
PyTorch 对 Raspberry Pi 4 和 5 提供了开箱即用的支持。本教程将指导您如何设置 Raspberry Pi 以运行 PyTorch,并在 CPU 上实时(30-40 fps)运行 MobileNet v2 分类模型。
所有这些都已在 Raspberry Pi 4 Model B 4GB 上进行了测试,但应该也适用于 2GB 型号,以及在 3B 上运行(性能会降低)。
先决条件#
要遵循本教程,您需要一台 Raspberry Pi 4 或 5,一个摄像头以及所有其他标准配件。
散热片和风扇(可选但推荐)
5V 3A USB-C 电源适配器
SD 卡(至少 8GB)
SD 卡读写器
Raspberry Pi 设置#
PyTorch 只提供 Arm 64 位(aarch64)的 pip 包,因此您需要在 Raspberry Pi 上安装 64 位版本的操作系统。
您需要安装 官方 rpi-imager 来安装 Rasbperry Pi OS。
32 位 Raspberry Pi OS 将无法工作。
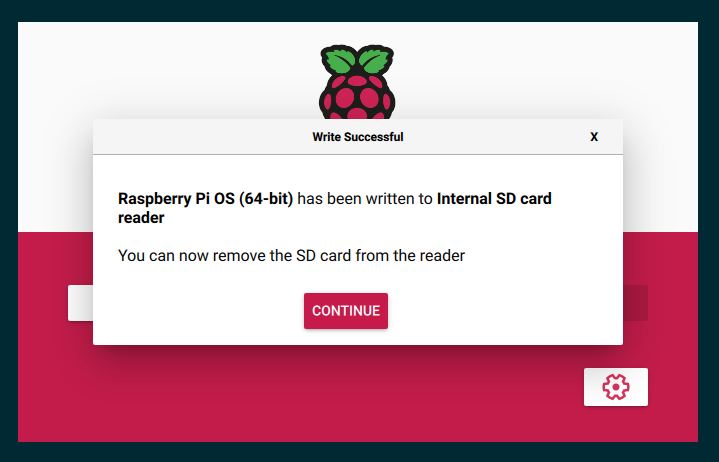
安装过程将至少需要几分钟,具体取决于您的互联网速度和 SD 卡速度。完成后,应该会显示如下内容:
现在将 SD 卡插入 Raspberry Pi,连接摄像头并启动。
Raspberry Pi 4 配置#
如果您使用的是 Raspberry Pi 4,则需要进行一些额外的配置更改。Raspberry Pi 5 不需要这些更改。
操作系统启动并完成初始设置后,您需要编辑 `/boot/config.txt` 文件以启用摄像头。
# This enables the extended features such as the camera.
start_x=1

# This needs to be at least 128M for the camera processing, if it's bigger you can just leave it as is.
gpu_mem=128
然后重新启动。
安装 PyTorch 和 picamera2#
PyTorch 和所有其他我们需要的库都有 ARM 64 位/aarch64 版本,因此您可以通过 pip 安装它们,就像在任何其他 Linux 系统上一样工作。
$ sudo apt install -y python3-picamera2 python3-libcamera
$ pip install torch torchvision --break-system-packages
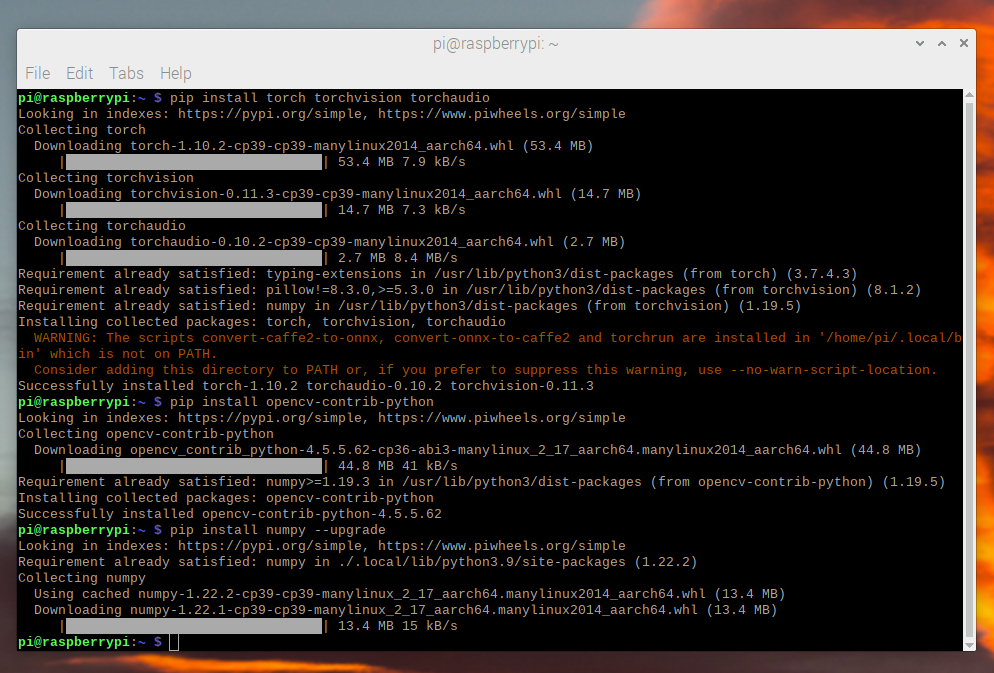
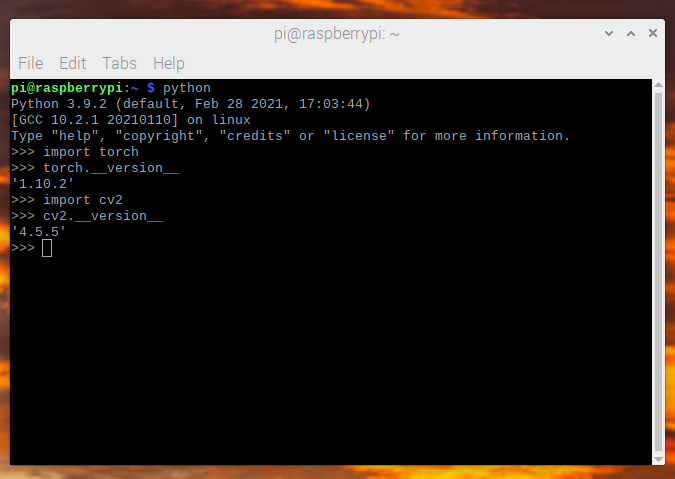
我们现在可以检查所有安装是否正常
$ python -c "import torch; print(torch.__version__)"
视频捕获#
首先,在终端中运行 `libcamera-hello` 来测试摄像头是否正常工作。
对于视频捕获,我们将使用 picamera2 来捕获视频帧。
我们使用的模型(MobileNetV2)接受的图像尺寸为 `224x224`,因此我们可以直接从 picamera2 请求该尺寸的视频,帧率为 36fps。我们目标是 30fps 的模型帧率,但我们请求稍高的帧率,以便始终有足够的帧。
from picamera2 import Picamera2

picam2 = Picamera2()

# print available sensor modes
print(picam2.sensor_modes)

config = picam2.create_still_configuration(main={
    "size": (224, 224),
    "format": "BGR888",
}, display="main")
picam2.configure(config)
picam2.set_controls({"FrameRate": 36})
picam2.start()
为了捕获帧,我们可以调用 `capture_image` 来返回一个 `PIL.Image` 对象,该对象可用于 PyTorch。
# read frame
image = picam2.capture_image("main")

# show frame for testing
image.show()
此数据读取和处理大约需要 `3.5ms`。
图像预处理#
我们需要将帧转换为模型期望的格式。这与在任何机器上使用标准 torchvision 变换进行的处理相同。
from torchvision import transforms

preprocess = transforms.Compose([
    # convert the frame to a CHW torch tensor for training
    transforms.ToTensor(),
    # normalize the colors to the range that mobilenet_v2/3 expect
    transforms.Normalize(mean=[0.485, 0.456, 0.406], std=[0.229, 0.224, 0.225]),
])
input_tensor = preprocess(image)
# The model can handle multiple images simultaneously so we need to add an
# empty dimension for the batch.
# [3, 224, 224] -> [1, 3, 224, 224]
input_batch = input_tensor.unsqueeze(0)
模型选择#
有许多模型可供选择,它们具有不同的性能特征。并非所有模型都提供 `qnnpack` 预训练变体,因此为了测试目的,您应该选择一个提供该变体的模型,但如果您自己训练和量化模型,则可以使用任何模型。
在本教程中,我们使用 `mobilenet_v2`,因为它具有良好的性能和准确性。
Raspberry Pi 4 性能测试结果
模型 |
FPS |
总时间(ms/帧) |
模型时间(ms/帧) |
qnnpack 预训练 |
|---|---|---|---|---|
mobilenet_v2 |
33.7 |
29.7 |
26.4 |
真 |
mobilenet_v3_large |
29.3 |
34.1 |
30.7 |
真 |
resnet18 |
9.2 |
109.0 |
100.3 |
假 |
resnet50 |
4.3 |
233.9 |
225.2 |
假 |
resnext101_32x8d |
1.1 |
892.5 |
885.3 |
假 |
inception_v3 |
4.9 |
204.1 |
195.5 |
假 |
googlenet |
7.4 |
135.3 |
132.0 |
假 |
shufflenet_v2_x0_5 |
46.7 |
21.4 |
18.2 |
假 |
shufflenet_v2_x1_0 |
24.4 |
41.0 |
37.7 |
假 |
shufflenet_v2_x1_5 |
16.8 |
59.6 |
56.3 |
假 |
shufflenet_v2_x2_0 |
11.6 |
86.3 |
82.7 |
假 |
MobileNetV2:量化和 JIT#
为了获得最佳性能,我们需要一个量化和融合的模型。量化意味着它使用 int8 进行计算,这比标准的 float32 数学性能更优越。融合意味着连续的操作已尽可能合并到一个性能更优的版本中。通常,像激活函数(`ReLU`)可以在推理时合并到之前的层(`Conv2d`)中。
pytorch 的 aarch64 版本要求使用 `qnnpack` 引擎。
import torch
torch.backends.quantized.engine = 'qnnpack'
在此示例中,我们将使用 torchvision 开箱即用提供的 MobileNetV2 的预量化和融合版本。
from torchvision import models
net = models.quantization.mobilenet_v2(pretrained=True, quantize=True)
然后,我们将使用 JIT 编译模型以减少 Python 开销并融合任何操作。JIT 编译可以让我们获得约 30fps 的性能,而如果没有 JIT 编译,则约为 20fps。
net = torch.jit.script(net)
整合#
现在我们可以将所有部分组合在一起并运行它。
import time
import torch
from torchvision import models, transforms
from picamera2 import Picamera2
torch.backends.quantized.engine = 'qnnpack'
picam2 = Picamera2()
# print available sensor modes
print(picam2.sensor_modes)
config = picam2.create_still_configuration(main={
"size": (224, 224),
"format": "BGR888",
}, display="main")
picam2.configure(config)
picam2.set_controls({"FrameRate": 36})
picam2.start()
preprocess = transforms.Compose([
transforms.ToTensor(),
transforms.Normalize(mean=[0.485, 0.456, 0.406], std=[0.229, 0.224, 0.225]),
])
net = models.quantization.mobilenet_v2(pretrained=True, quantize=True)
# jit model to take it from ~20fps to ~30fps
net = torch.jit.script(net)
started = time.time()
last_logged = time.time()
frame_count = 0
with torch.no_grad():
while True:
# read frame
image = picam2.capture_image("main")
# preprocess
input_tensor = preprocess(image)
# create a mini-batch as expected by the model
input_batch = input_tensor.unsqueeze(0)
# run model
output = net(input_batch)
# do something with output ...
print(output.argmax())
# log model performance
frame_count += 1
now = time.time()
if now - last_logged > 1:
print(f"{frame_count / (now-last_logged)} fps")
last_logged = now
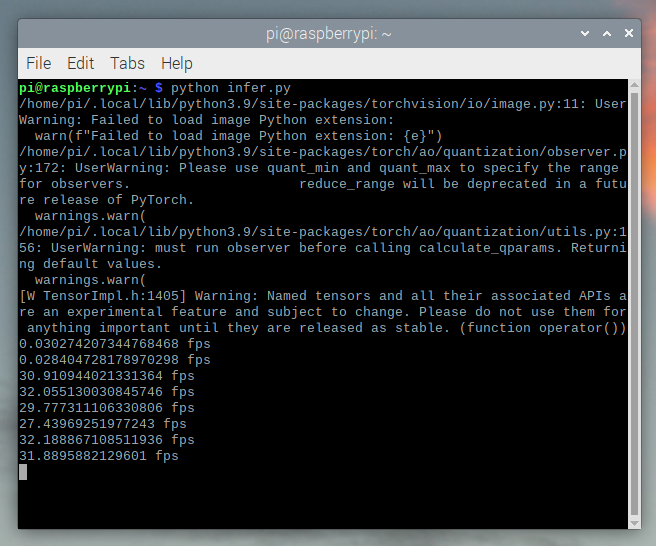
frame_count = 0
运行它表明我们在 Raspberry Pi 4 上运行速度约为 30 fps,在 Raspberry Pi 5 上运行速度约为 41 fps。
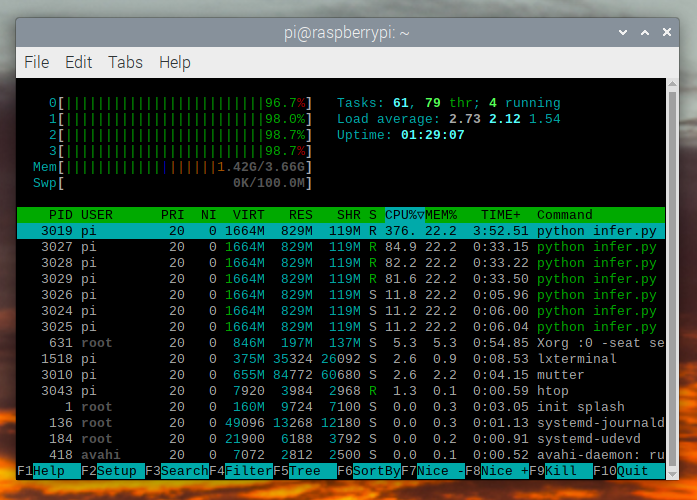
这是在 Raspberry Pi OS 的所有默认设置下进行的。如果您禁用了 UI 和所有其他默认启用的后台服务,其性能和稳定性会更高。
如果我们检查 `htop`,我们会看到 CPU 利用率接近 100%。
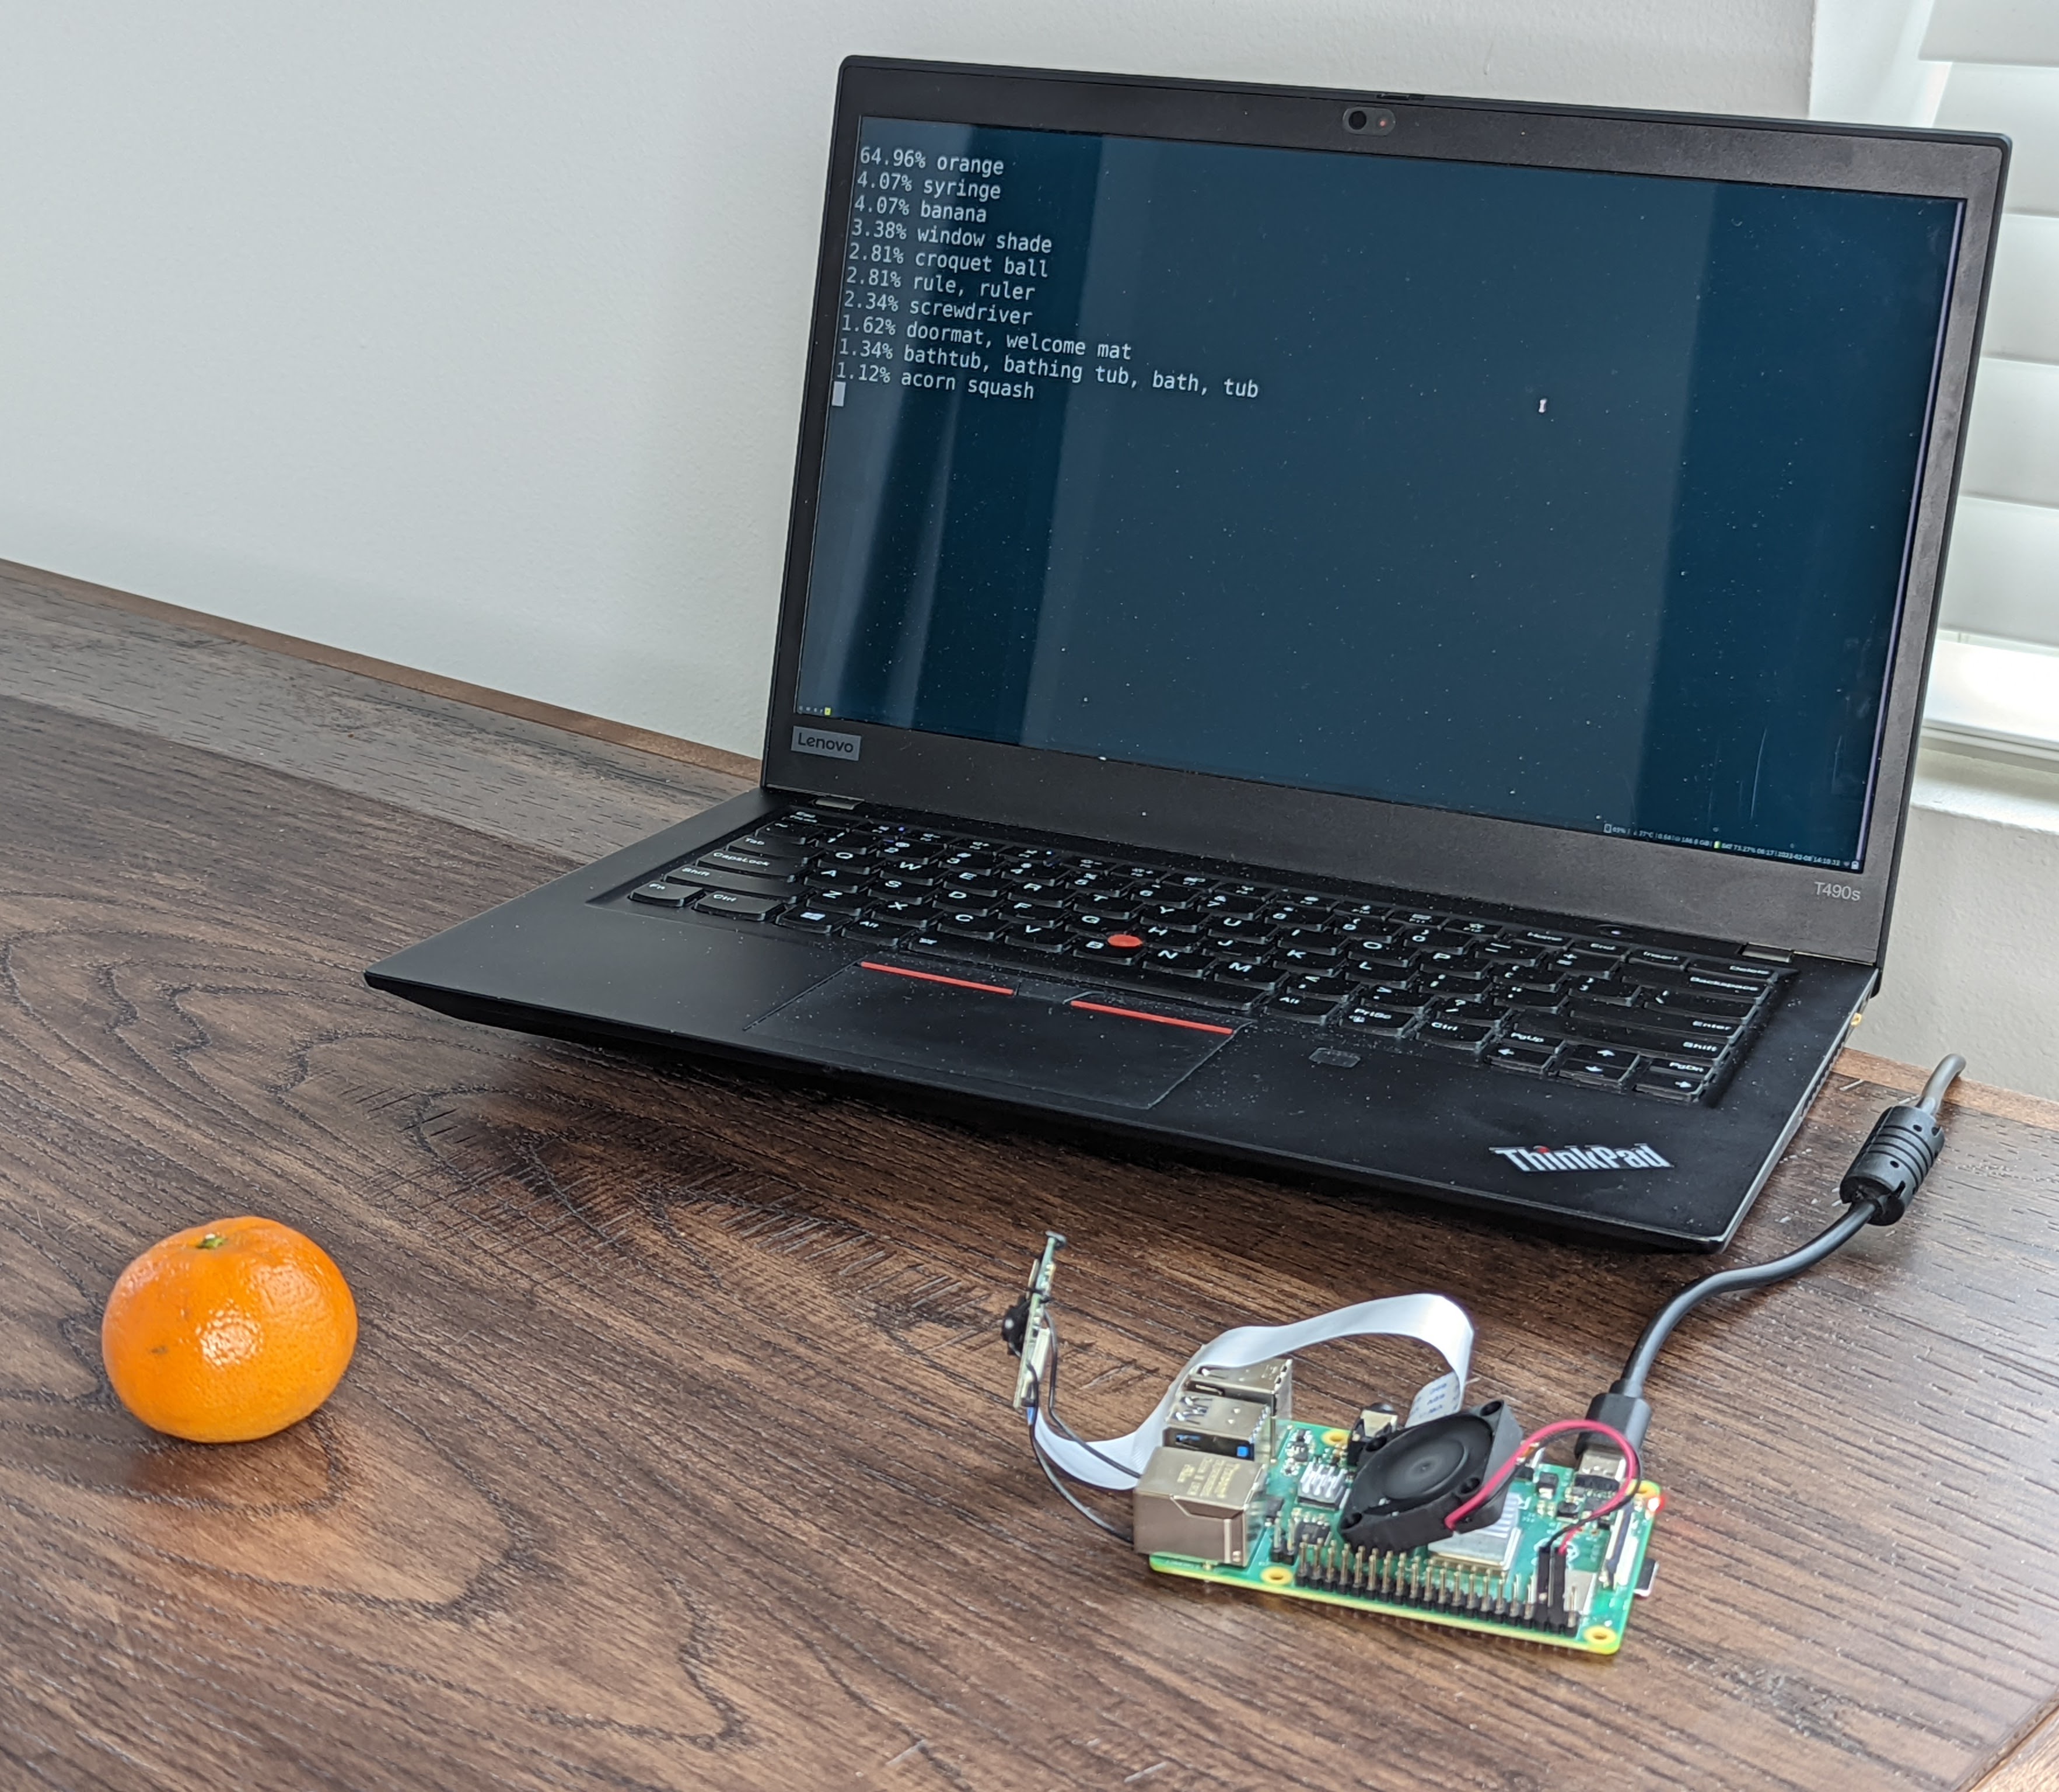
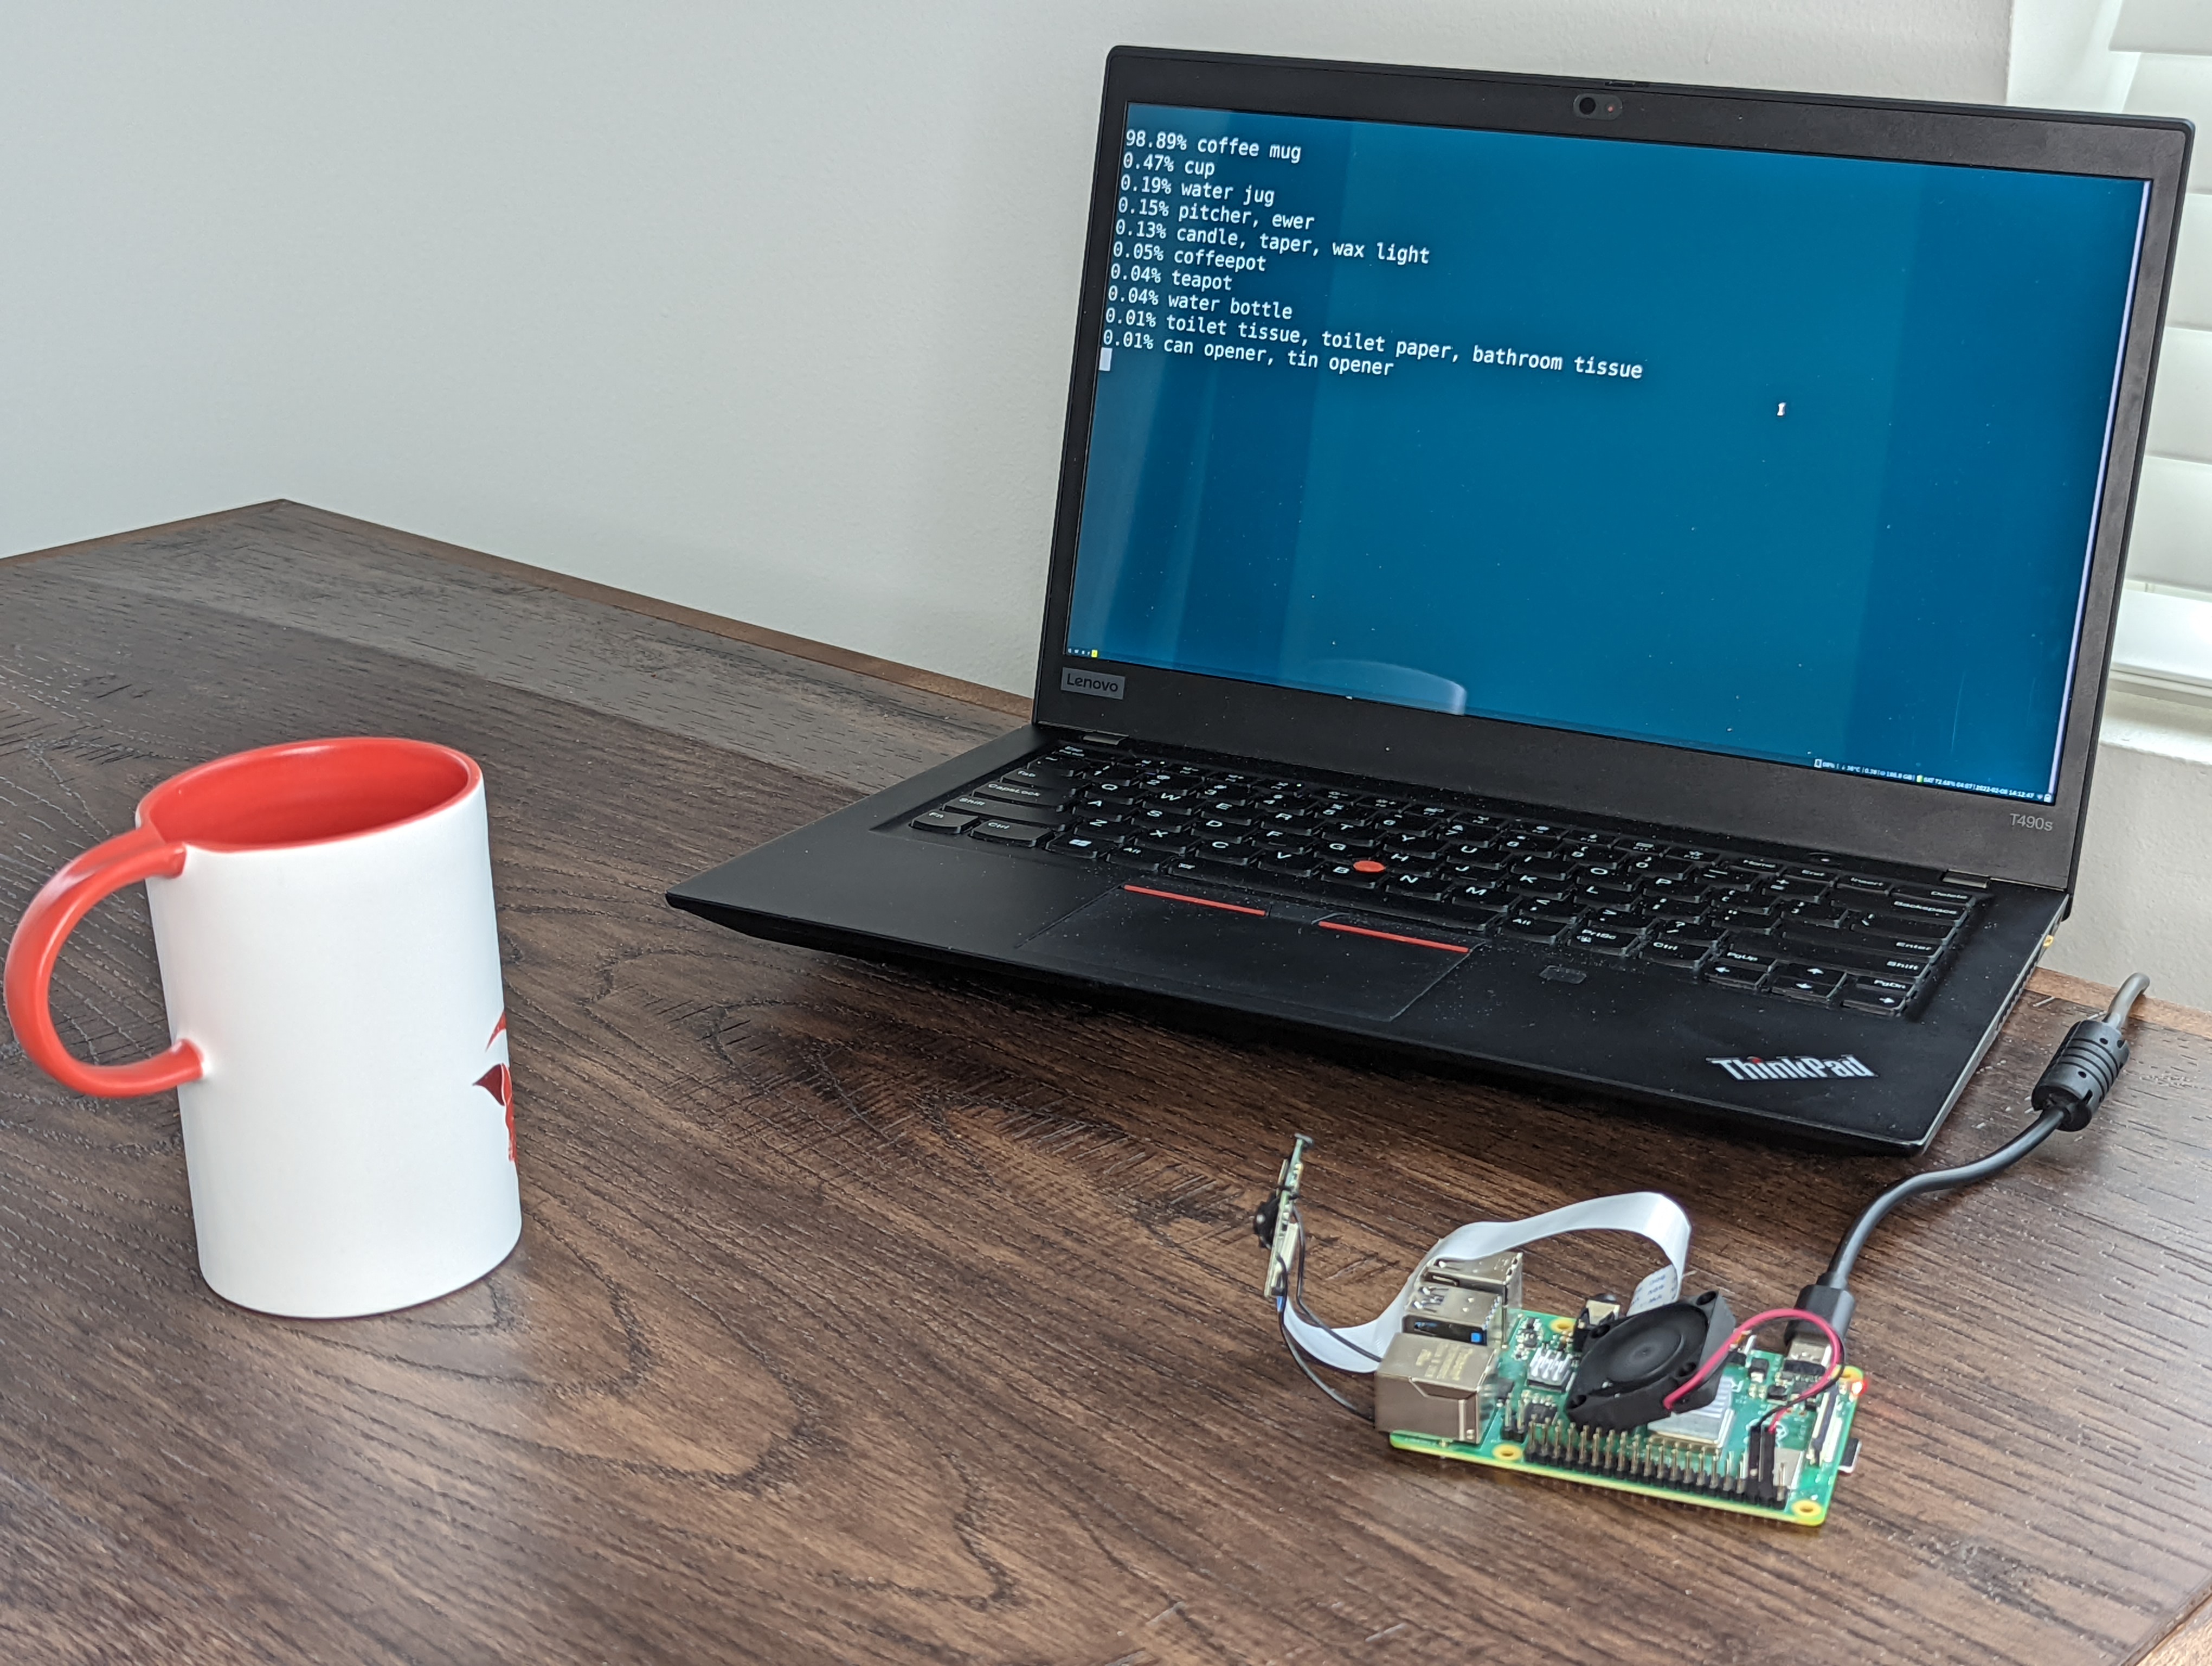
为了验证端到端的运行情况,我们可以计算类的概率,并 使用 ImageNet 类标签 来打印检测结果。
top = list(enumerate(output[0].softmax(dim=0)))
top.sort(key=lambda x: x[1], reverse=True)
for idx, val in top[:10]:
    print(f"{val.item()*100:.2f}% {classes[idx]}")
实时运行 `mobilenet_v3_large`
检测到一个橙子
检测到一个马克杯
故障排除:性能#
PyTorch 默认会使用所有可用的核心。如果 Raspberry Pi 上有任何后台运行的程序,它可能会与模型推理竞争,导致延迟尖峰。为缓解此问题,您可以减少线程数,这会以少量的性能损失降低峰值延迟。
torch.set_num_threads(2)
对于 `shufflenet_v2_x1_5`,使用 `2 threads` 而不是 `4 threads` 会将最佳情况延迟从 `60ms` 提高到 `72ms`,但消除了 `128ms` 的延迟尖峰。
下一步#
您可以创建自己的模型或微调现有模型。如果您在 torchvision.models.quantized 的模型上进行微调,那么大部分融合和量化工作已经为您完成,因此您可以直接在 Raspberry Pi 上以良好的性能进行部署。
了解更多
